
How to Create the Perfect Workback Schedule for Your Business

Dealing with a project where the only thing you have is the due date can be a genuine headache for project managers. Having to build the entire project’s schedule with almost no instruction demands a lot of effort and well-thought-out strategies.
With this in mind, people created the workback schedule. This powerful modern scheduling tool can be a game changer when projecting things like a project’s life cycle or the number of project phases until it finishes.
In this article, you will learn how to create a workback schedule template to help in all your multiple projects. Follow all steps to create the perfect tool for your project’s timeline.
What Is a Workback Schedule

The workback schedule is a project management tool that helps you create a project timeline and assign tasks based only on the project's delivery date. It maps out the project in reverse order, beginning from the proposed deadline and going all the way to the project start date.
It can be an indispensable tool for an important project, giving specific details and important information to both team members and stakeholders. This way, all the tasks can be defined and completed before the due date.
Why Is the Workback Schedule Important

Along with helping the building an efficient timeline for your project, there are many reasons why workback schedules can be vital for a project to be successful. The first one is the time management factor.
Working with a strict deadline can be a challenge. You have to deal with all project deliverables and manage additional resources while running in a short space of time. The workback schedule can help you track the best way possible to do this and help you save time.
Also, resource planning is affected by workback schedules. They help in deciding the most efficient method for a project. This avoids the waste of resources and time on tasks that are not important.

Moreover, this modern scheduling tool can also help when choosing between all the milestones and which ones are significant for the workback calendar.
Most project managers use this tool to identify impossible or unrealistic due dates. Sometimes stakeholders and direct clients ask for a due date that is almost impossible to be accomplished. The workback schedules are incredibly efficient in identifying these cases.
How to Create a Workback Schedule Template
Now that you know what a workback schedule is, it is time to start creating your own workback schedule template. Be sure to follow all the steps carefully to create a useful document that can become one of the best modern scheduling tools for your business.
Here are the main steps you should follow.
Define the Due Date

Since the workback schedule works in reverse order, the first thing you need to do in your template is to define the project deadline. Talking to stakeholders, clients, and especially the team involved is essential for a good project.
Trying to negotiate due dates helps a lot for the project not to be rushed or executed in a short period of time. This avoids problems with the lack of time to double-check and review everything.
Don’t forget that when trying to create workback schedules, communication is important from the very first moment. This will define how optimized the execution of the project plan will be and consequently impact the delivery dates as well.
Define the Time Needed for Each Step
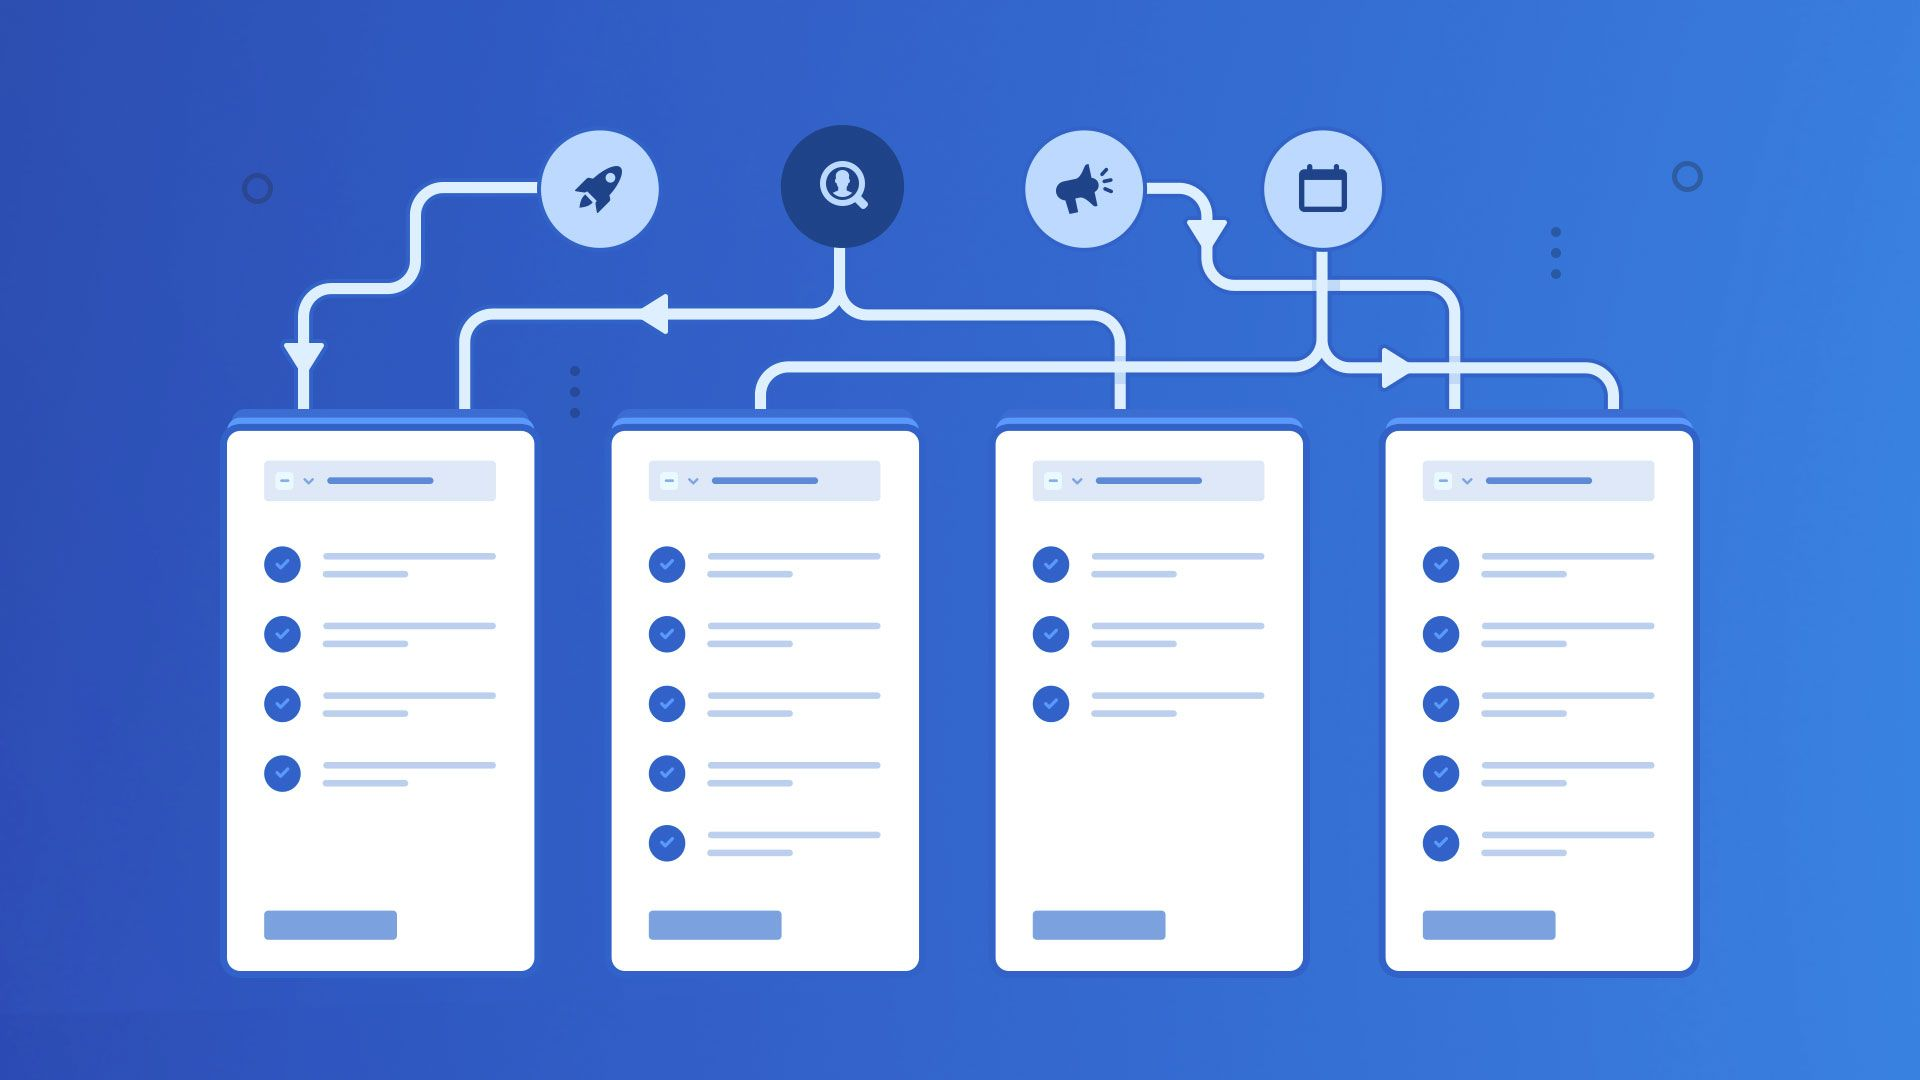
After deciding on the end date of your project, the next step is to analyze the project to see how many steps and tasks you will need to complete and how much time will be required for each task. This part of the workback schedule may look a little tricky because of the backward date system, but it becomes easier once you understand the steps needed to accomplish the project.
You can always ask a team member for advice if you don’t know how long a specific task may take. They can also help choose the best order for the tasks to be completed.
Analyze Available Resources

After deciding on the tasks and the time for each one, the next step when trying to create a workback schedule is to analyze all the resources available and what needs to be worked on. This part requires a deep analysis of your business and also of what will be needed to complete the project.
The more accurate the analysis gets, the better. This will avoid surprises along the way that might result in delays in certain tasks or even the deadline.
Match Your Tasks and Resources

The next step when going to create a workback schedule is to match your tasks and resources. From a UX design task to streamline production, allocating resources and addressing them to their corresponding tasks also helps in optimizing the time needed to complete the project. It can also help to visualize when a company needs to acquire more resources to conclude an assignment.
Set the Project Start Date

The next step of your workback schedule is to set the date when the project production will start. This helps the project manager and all the other employees to ensure enough time for all tasks and deliverables of the project.
Just like the due date, this part needs to be discussed with the team and other relevant parties to ensure that you make the best decision. Every part of the project must have enough time to be worked on.
Create More Than One Workback Schedule
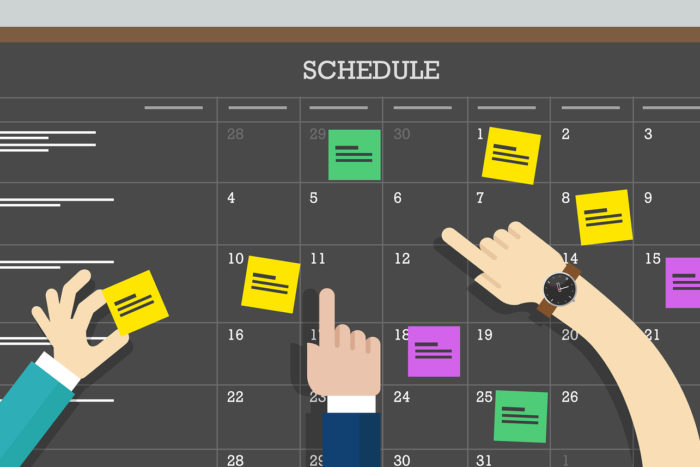
The last task when trying to create a workback schedule is to make different versions of it. Experimenting with different workback schedules can be a great way to test the most optimized version.
This way, you can create a perfect and clear workback schedule that will guarantee a smooth-running project. After doing this, you just have to apply everything you wrote to a template, and the workback scheduling mission is over.
Where to Create a Workback Schedule Template
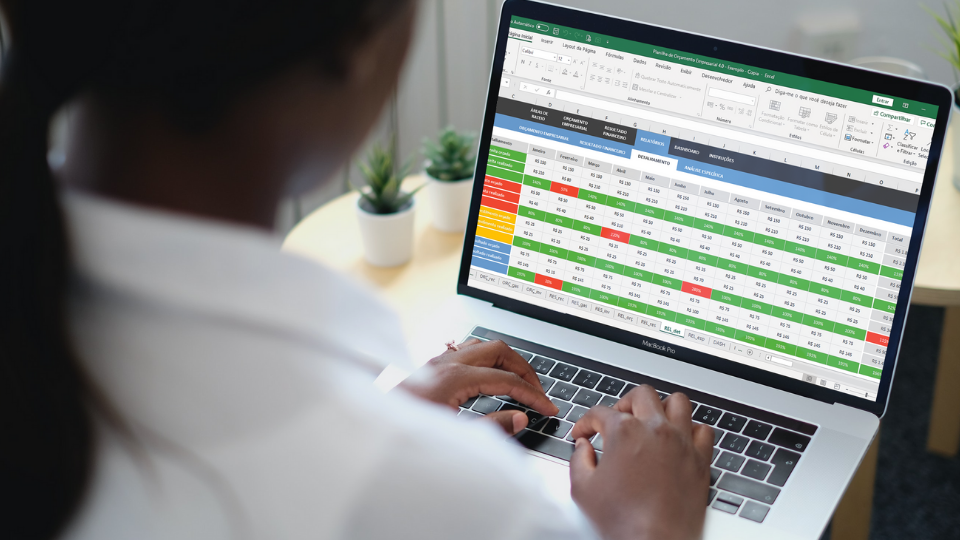
There are tons of programs where you can create your own workback schedule, from specialized tools to general document software. Everything will depend on your needs and goals.
To create your template, we highly recommend using Microsoft Excel. The software is the best option, with tons of tools and features that will surely fit all your needs and expectations.
You can edit even the smallest details of your document with this program. Along with that, Excel goes far beyond just workback schedules.
This way, you don’t need multiple software packages for different activities. If you don’t have a Microsoft Office Activation key, you can buy one at RoyalCDKeys for a considerably lower price when compared to Microsoft Store.
Doing this saves money that can be used for other business tasks. The website offers a lot of activation keys, including the market's most famous games and software.
Ready to Use Templates
If you don’t want to create your template from scratch, no problem. Here are some ready templates that you can download and use.
Once you choose a workback schedule example, don’t forget to edit it to fit your needs better. This way, you end up with a perfect schedule for your project.
Template #1
Simple workback schedule with timeline. Perfect for any kind of project.
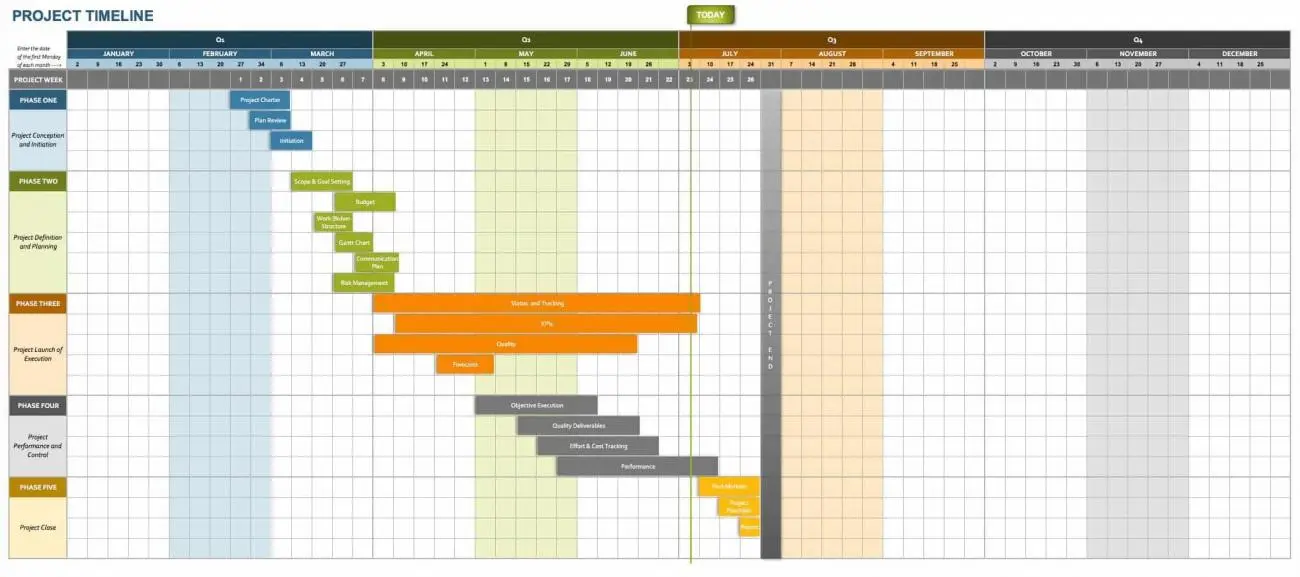
Template #2
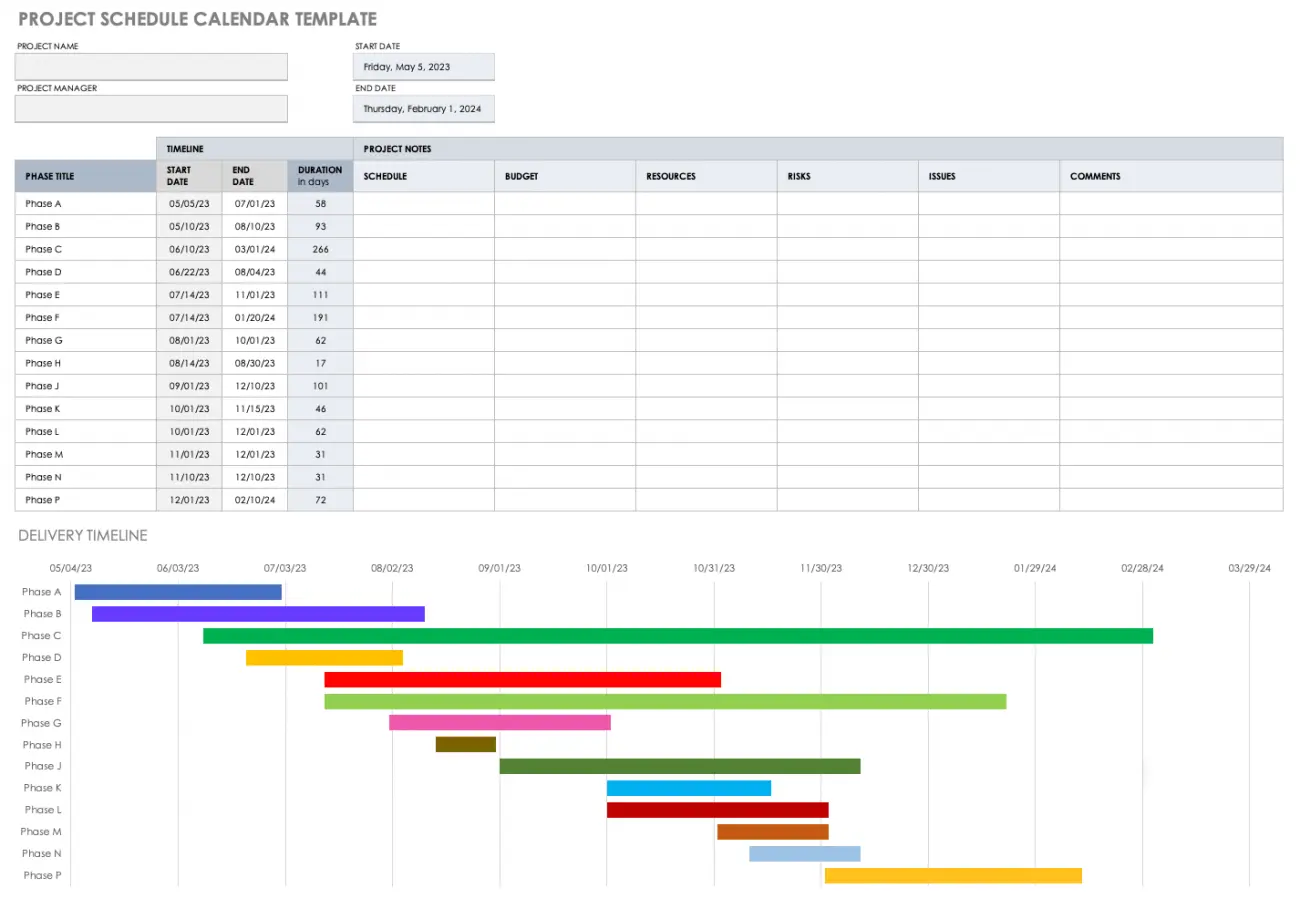
Workback schedule with a Gantt chart. Perfect for dividing the tasks and the teams responsible for each one.
Template #3
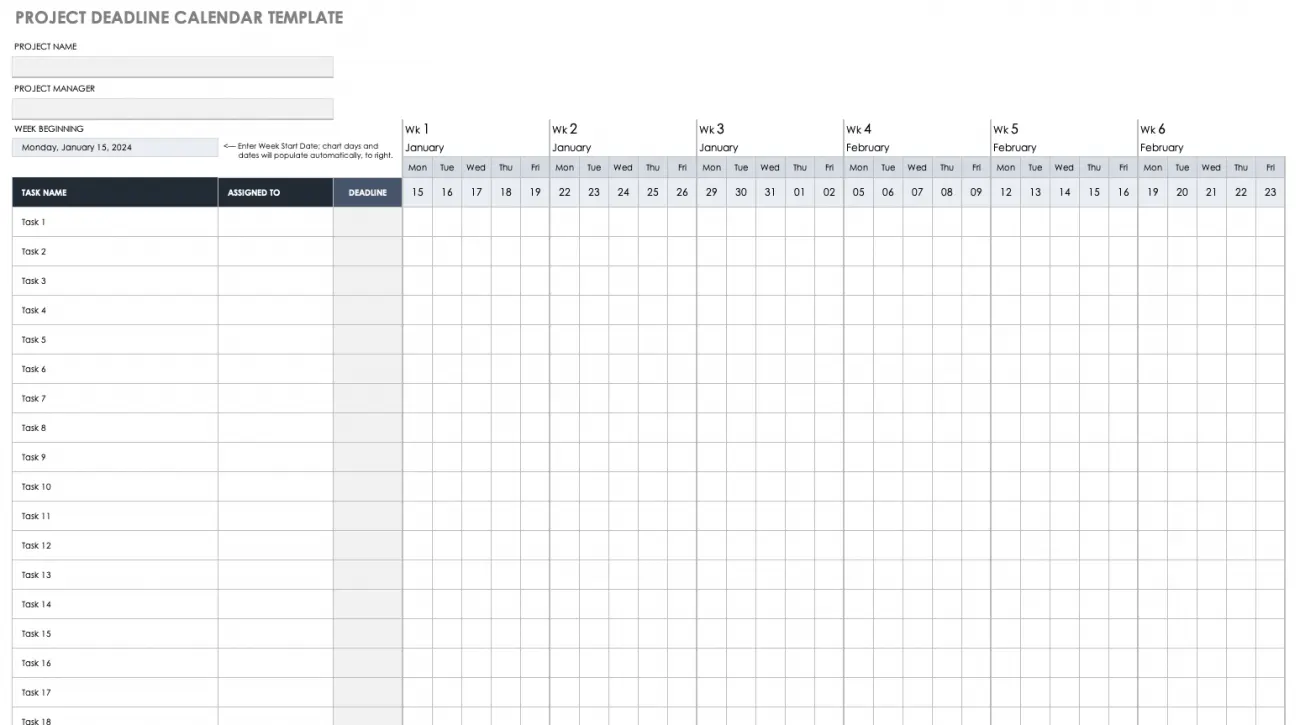
Deadline calendar template. Workback schedule focused on highlighting the deadlines for each part of the project.
Conclusion on Workback Schedules
The workback schedule can be the perfect tool to coordinate plans once you don’t have any information beyond the deadline of a project. Although it may look like a complex document to create, it becomes a straightforward process once you understand it.
Remember that every step must be carefully done and well-thought-out before you start the production process. Have an honest conversation with your stakeholders and team members to create clear communication to keep everyone on the same page.
Everything from the resources analysis to the number of key columns in your document will impact this reverse engineering process. This is why this work schedule needs to be constantly updated and checked by the project manager.
Now that you know everything you need, it is time to start creating your workback schedule. Choose the best template for your needs, or create your very own.
Remember that if done correctly, it can become a powerful tool that will help you in any project, elevating the quality of your results and the organization’s standards.


